How to disable the wireless
Note:
Please make sure you are hardwired into the back of the router when changing any of the configuration on your router.
Procedure:
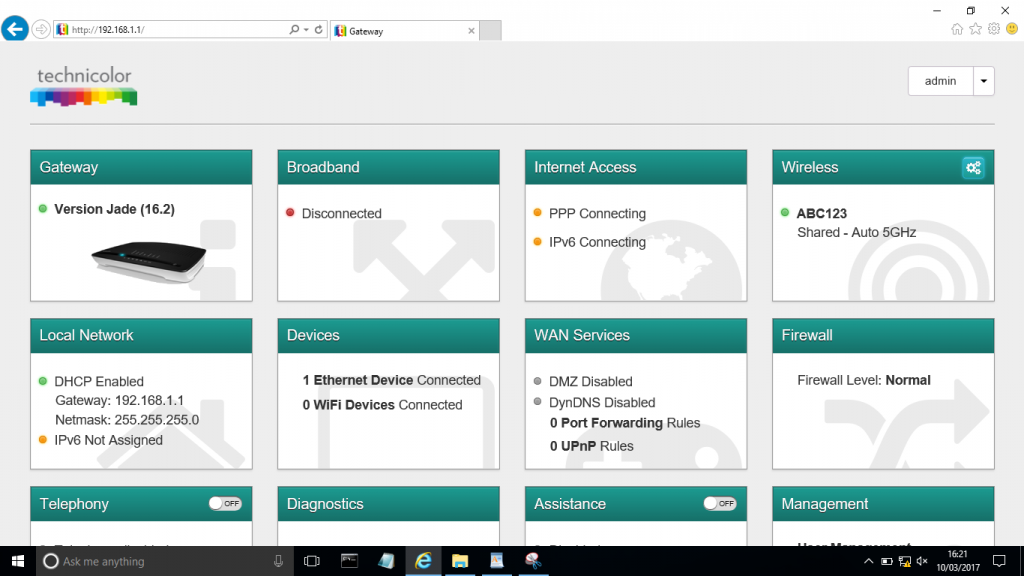
1. To start, you need to go to your internet browsers, i.e. Internet Explorer, Google Chrome or Mozilla Firefox and type 192.168.1.1 into the address bar and press enter. Please see image below.

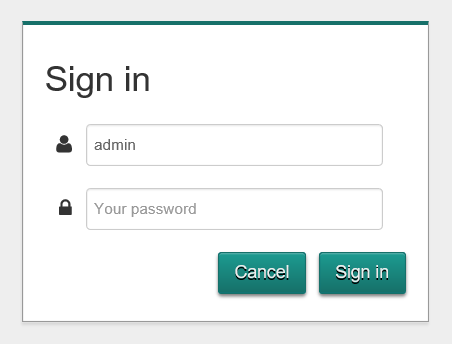
2. The user log in screen will pop up, you will need to enter you username and password. The default username is admin and the password is the Serial Number of the router labelled SN on the bottom of the router.
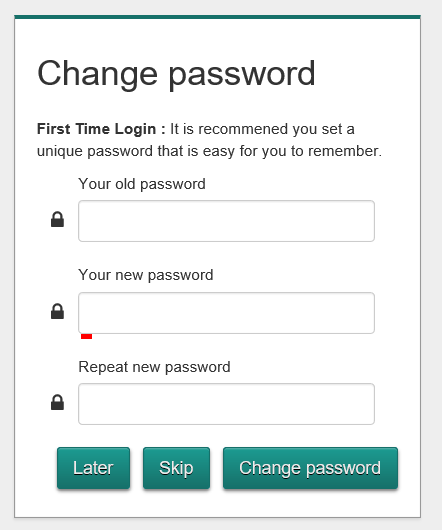
3. It will then prompt you to change your password. You can change your password if you wish but when doing this, we would advise that you inform us so we can add these details to your account. Otherwise click ‘Later’ to proceed.
4. This should then bring you to the home screen of the router. Once you are on this screen, hover over the wireless tab and click the cogs in the top right corner of the wireless tab.
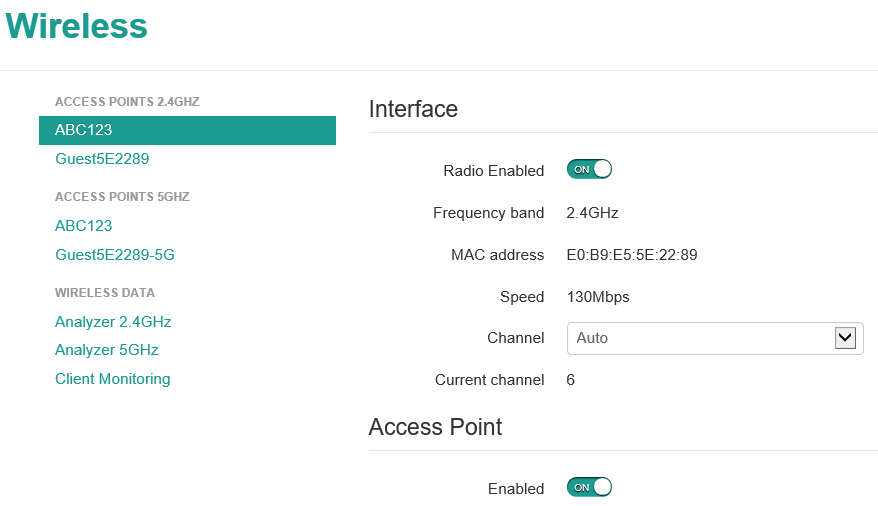
5. After clicking on the cogs on the wireless tab, it will then bring up the wireless interface. There should be a heading that says ‘Radio Enabled’, this should be on. To disable the wireless you need to change ‘Radio enabled’ to off. Please ensure you do this for both 2.4 GHz and 5ghz and click save when finished. These will be located to the left hand side of the page under ‘Access Points 2.4ghz’ and ‘Access Points 5ghz’.
Added notes:
Once you have finished all of your testing, you will need to re-enable the wireless again, please complete the above steps but instead of disabling ‘Radio Enabled’, you will need to re-enable this.